In this spring/lockdown clearing, I unburied an old Raspberry Pi I bought several years ago but never did anything with it. I was in need of a new project so I decided to do something useful and build a file server. My current laptop's HD is only 500GB which is no longer enough to hold all my files. I have 20 years of pictures, and all the files I've accumulated during the years that add up to around 700GB. Having all my data copied on the computer's hard drive is not an option any more so I have an external HD that I use to store stuff. I regularly backup the content of my working hard drive to another external one since a time when I almost lost everything due to an HD malfunction (I had to send my hard drive to a specialised data recovery company and spend 1300 euros to get my data back).
So I decided to create this NAS server in order to have my data accessible without the bother to have to plug the external HD (and use one of the two usb ports I have available) and considering it would be a first step to automate and schedule my backup process.
Stuff I used
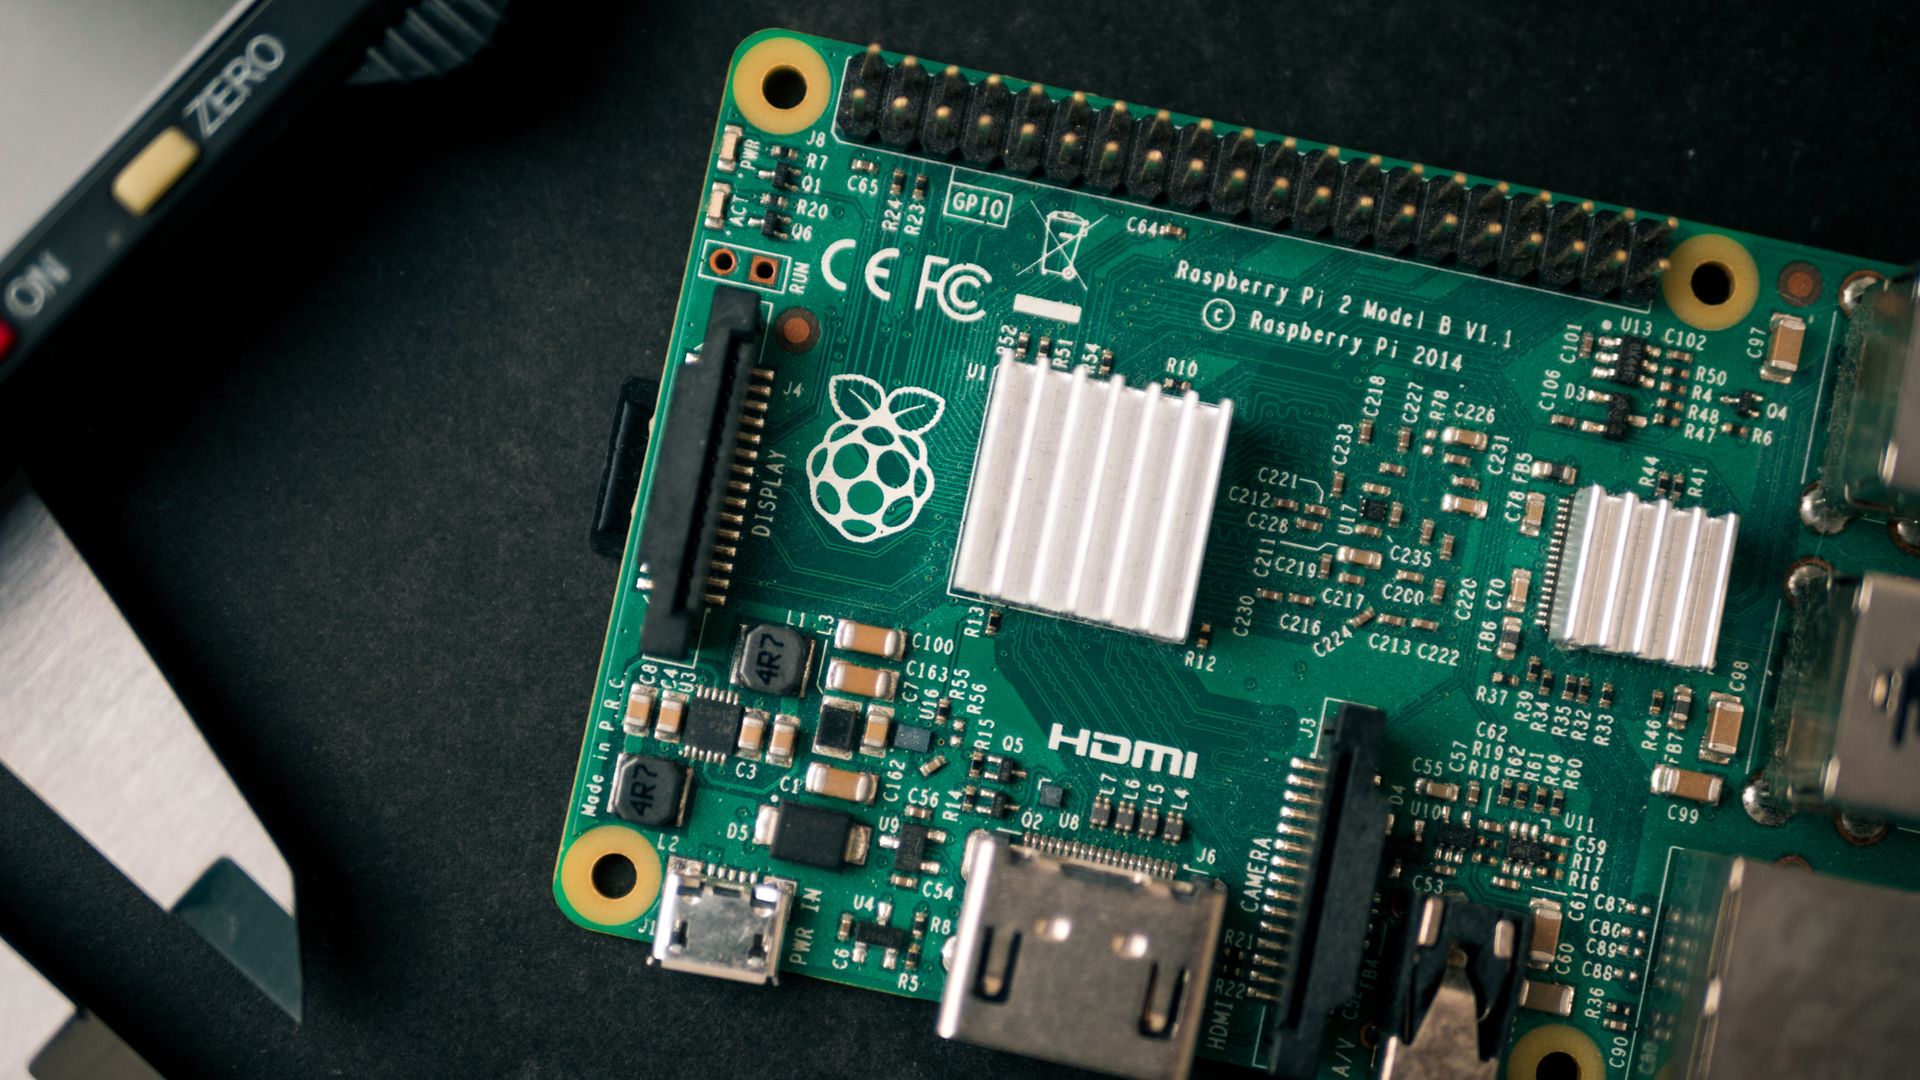
- Raspberry PI 2 model B (I guess any other can be used, but this is the one I had).
- 32 GB Micro SD card
- Old micro USB mobile charger as a power source (Output ~ 5V, 2A)
- 1 TB external HD
- WiFi dongle (for setup only, this model doesn't integrate wifi and my screen is far from the router so I used a wifi dongle for the first setup).
- USB keyboard (for setup only)
- HDMI Screen (for setup only)
Let's get started
1. Burn SD card
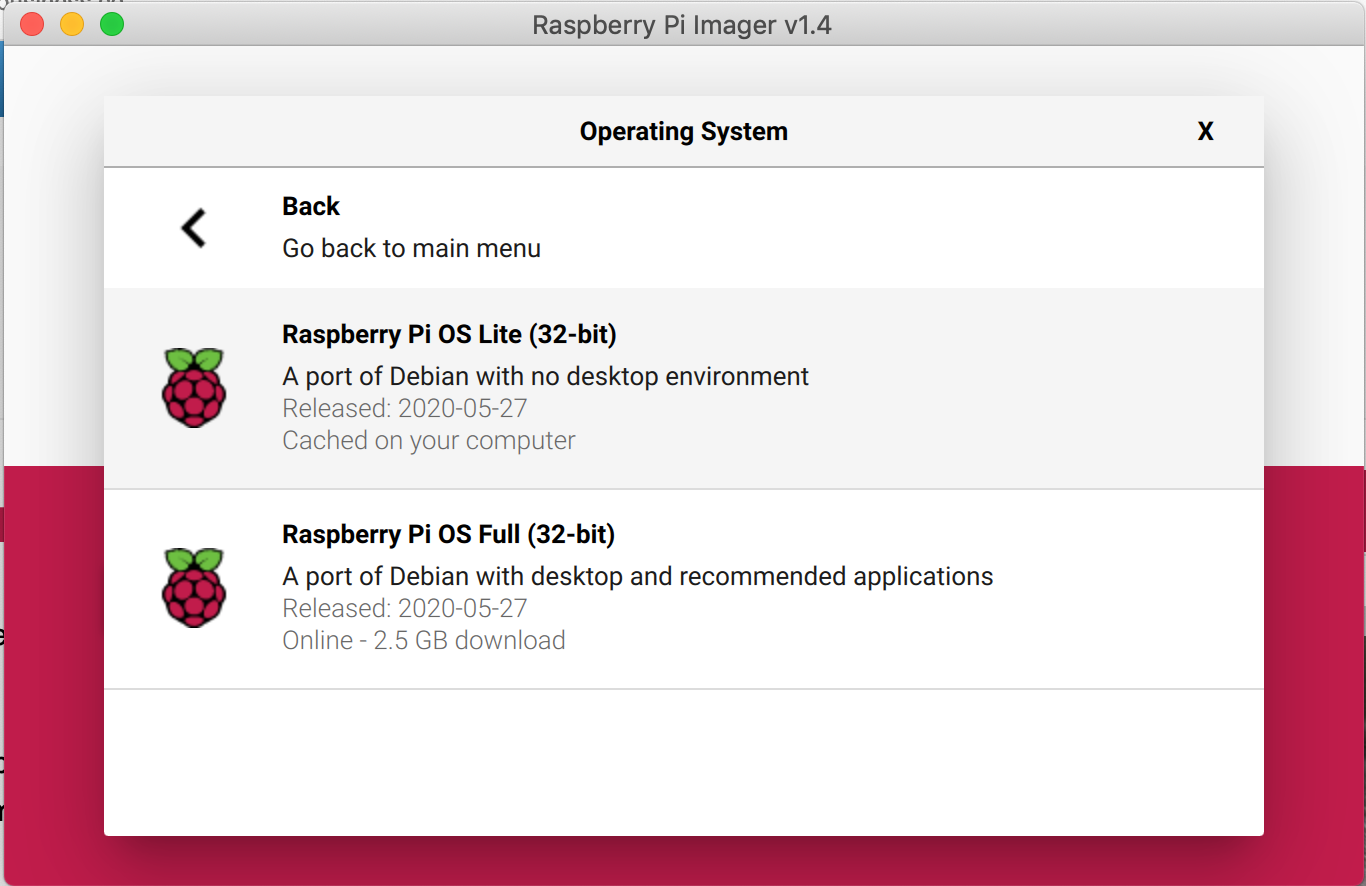
The first thing you need to do is prepare the SD card. Raspberry Pi has now its own application to do this so we don't need to use etcher any more. Just download and install Raspberry Pi Imager, select OS and SD card and burn the card.
As I'm preparing the card for a file server, I won't be needing any graphic interface so Raspberry Pi OS Line version is enough.
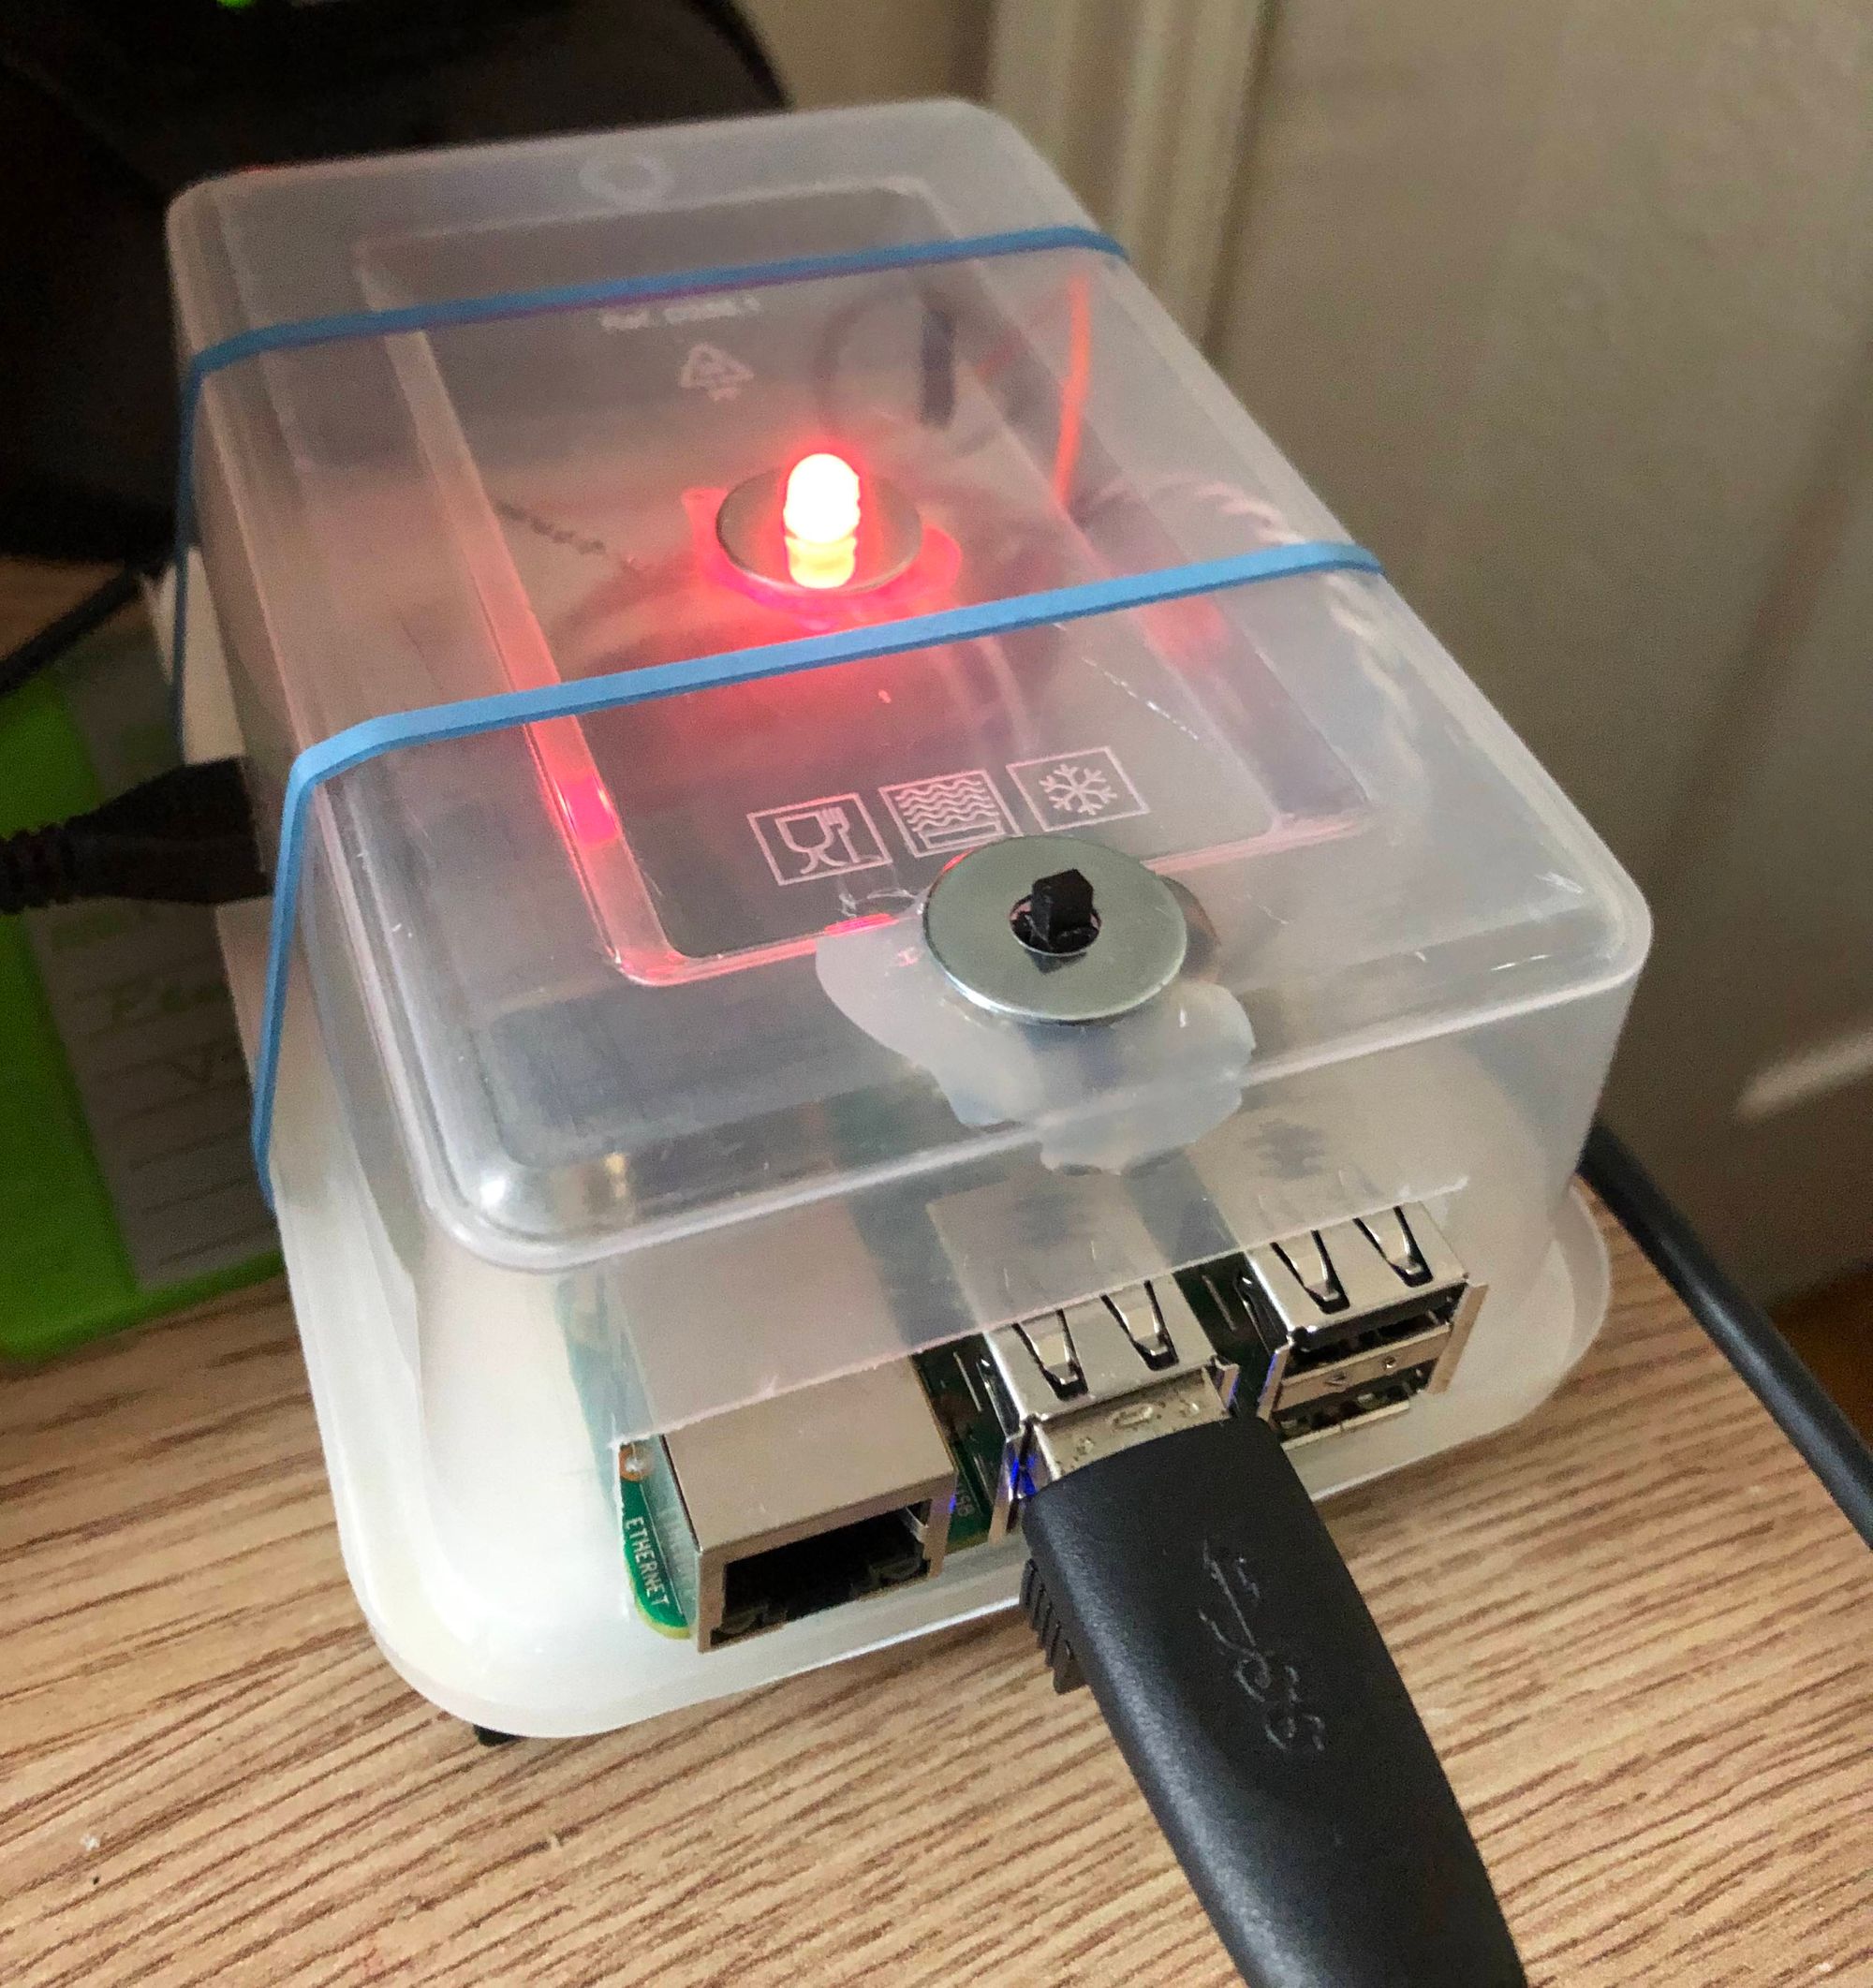
2. Plug and go
Once the card is ready, insert it into the Raspberry Pi, plug the power source, the wifi dongle, the screen and the keyboard. The Raspberry Pi should start when you plug the power source into the socket.
Once the OS has finished loading, login as the pi user (by default the password is 'raspberry')
3. Config WiFi
This step is only necessary if you can't plug your Pi ethernet port to your router. I needed to do this step for setup but used the ethernet port later.
To tell the Raspberry Pi to connect to our WiFi network we need to edit a file called wpa_supplicant.conf.
To open the file in nano type the following command:
$ sudo nano /etc/wpa_supplicant/wpa_supplicant.confAdd the following to the file to configure our network:
network={
	ssid="WIFI name"
	psk="password"
}
For this config to take effect, we need to restart our Raspberry.
$ sudo rebootOnce it has restarted, check that the network is accessible by typing:
$ ifconfig wlan04. Activate ssh
It is good practice to change the default password before activating remote access through ssh to avoid any security issues. To change the password for the pi user, log in as pi and type:
$ passwdOnce the password is changed, we can activate ssh by typing:
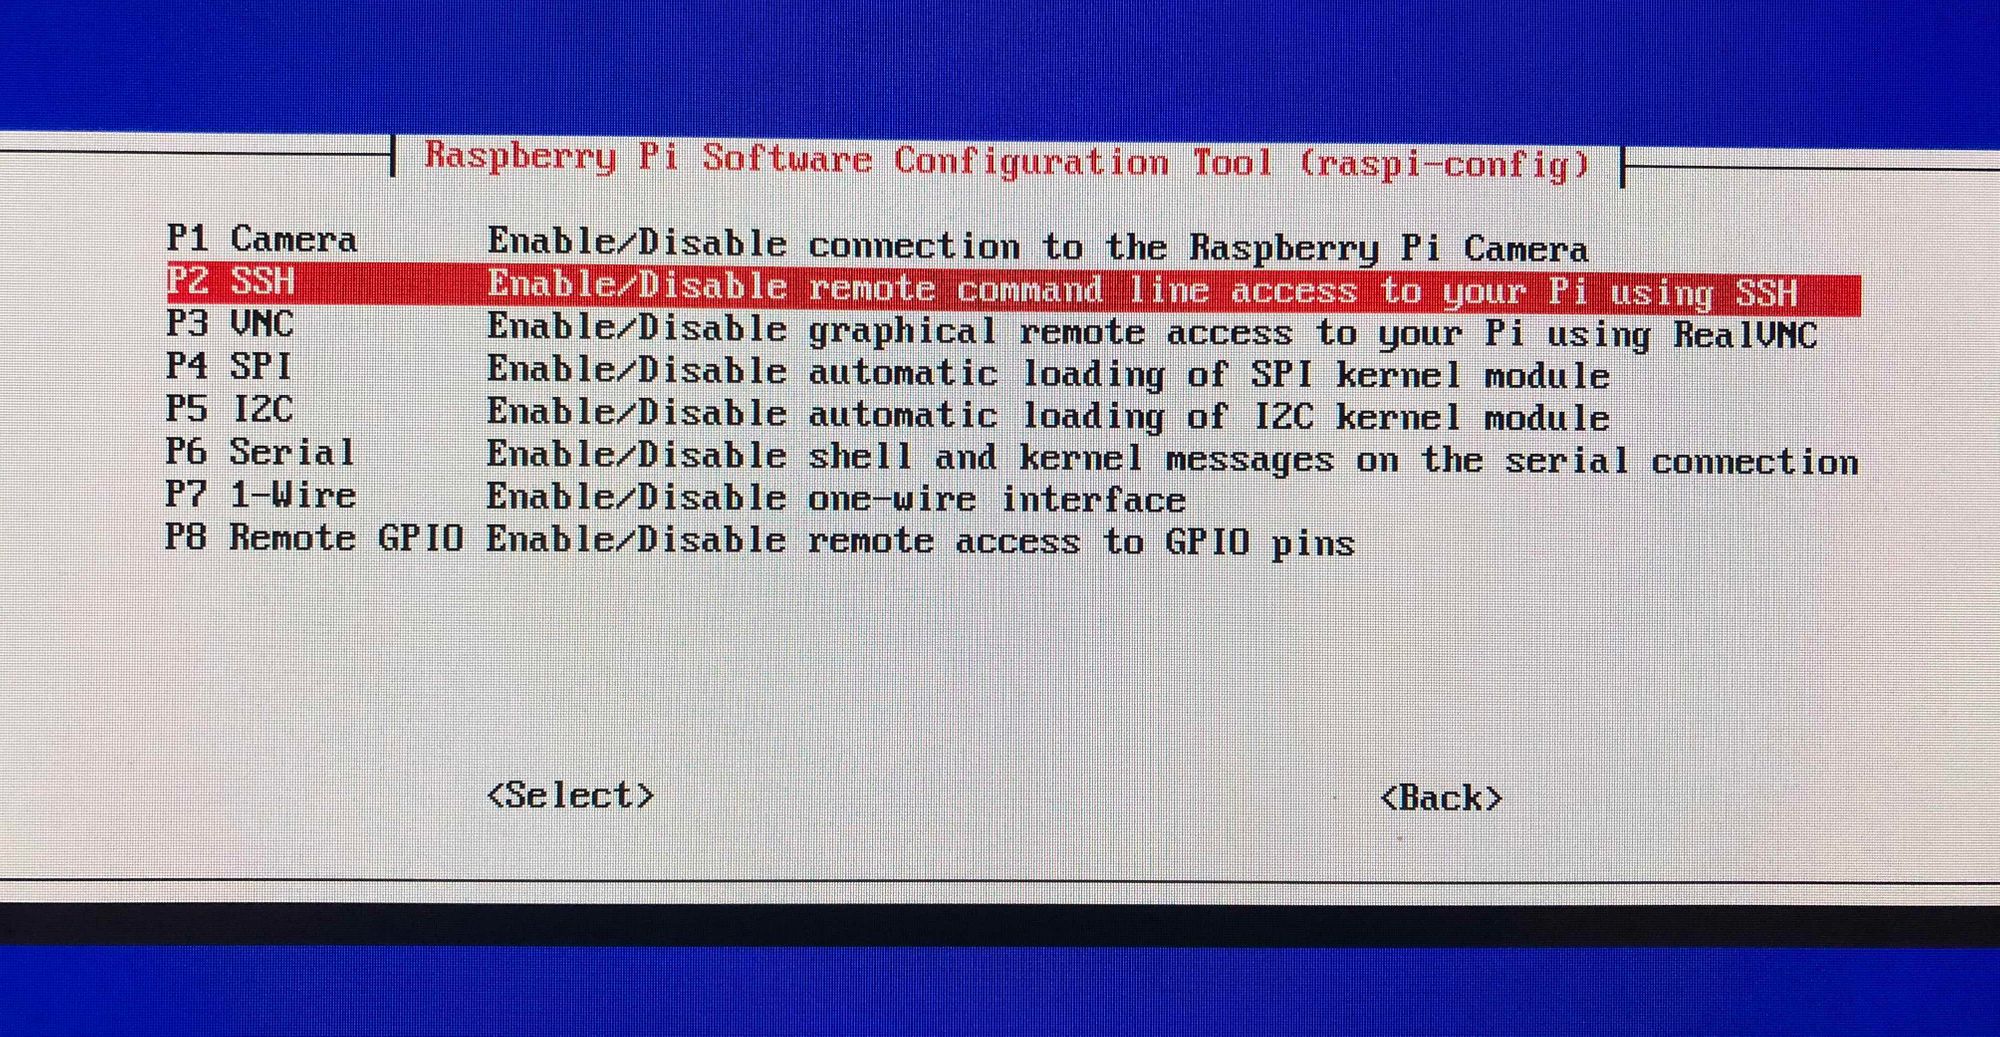
$ sudo raspi-configand selecting 5 Inerfacing Options
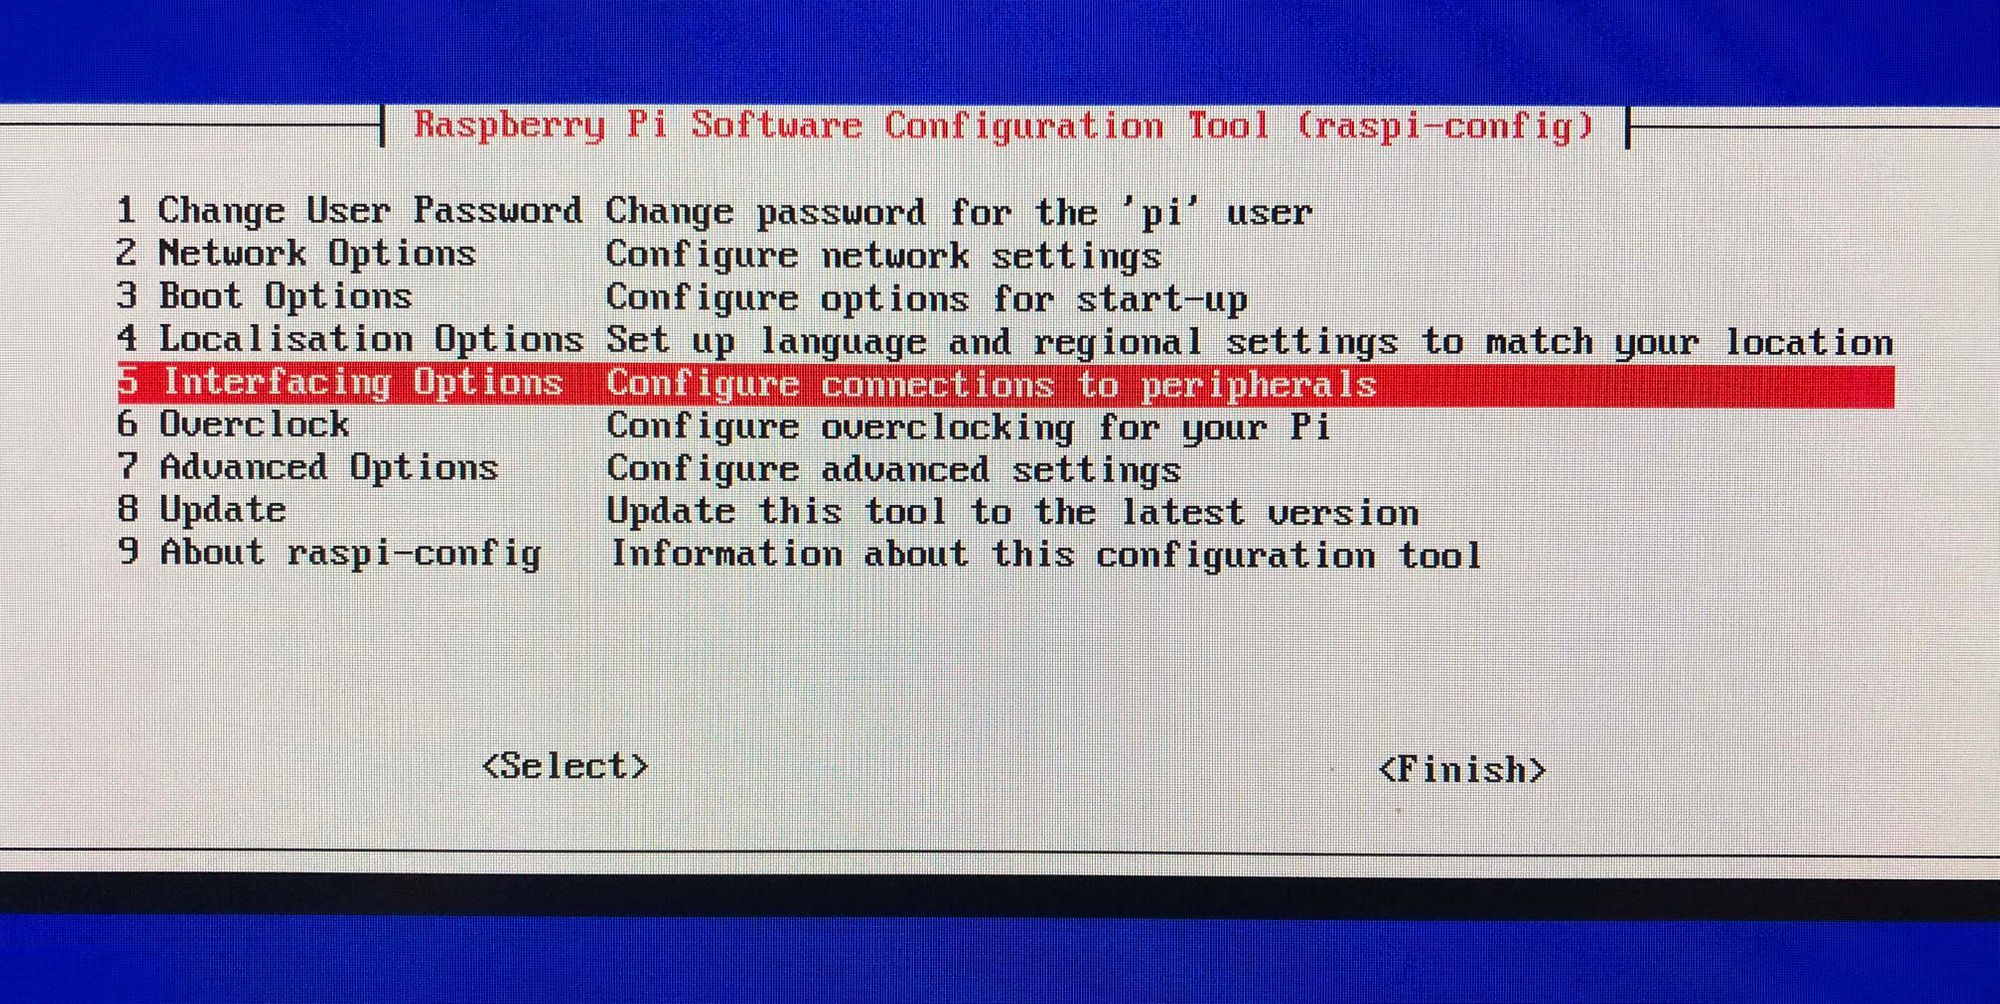
And then P2 SSH.
Once SSH is enabled, we can unplug the screen and keyboard, and access it remotely. I also moved my Raspberry Pi next to the router, connected it to the Raspberry Pi ethernet port and removed the WiFi dongle.
Once this was done and the Raspberry pi was back on, I could ssh from my computer and continue the process.
$ ssh pi@192.168.0.315. Install Samba
Samba is a free implementation of the SMB networking protocol; it provides file and print services and allows Linux computers to integrate into Microsoft’s active directory environments seamlessly. By using Samba, we can easily share directories over the netwokr in a way that can be easily acessed by ani operating system.
The first thing is make sure that everything is up to date in our Raspberry Pi.
$ sudo apt-get update
$ sudo apt-get upgrade
Now install the Samba packages we require.
$ sudo apt-get install samba samba-common-bin
6. Install and format the external hard drive
If the disk is not formatted, we need to format it. In my case the disk was formated using the exFAT file system as I needed to access it using both macOS and Windows devices. However, as the disk is now only going to be connected to a Linux server and accessed through Samba, I decided I'd format it in a linux file system to maximise performance. Ext4 is the default system for linux, it is the latest "extended file system" and includes newer features that reduce file fragmentation, allows for larger volumes and files, and uses delayed allocation to improve flash memory life. So after having backed up the HD, connect the disk on a USB port of the Raspberry Pi.
First, we need to identify the disk by typing
$ lsblk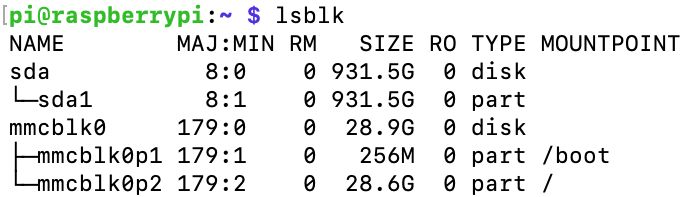
here we can see the disk is referred to as sda1. If the disk is automatically mounted, we need to unmount it:
$ sudo umount sda1To delete the disk partitions, type:
$ sudo fdisk /dev/sda1and follow the instructions to delete all partitions. Then, to create the new partition and format the disk using ext4, type:
$ sudo mkfs.ext4 /dev/sda17. Mount the external drive
We want, not only to mount the drive but for it to be automatically mounted on boot so in case of system restart, the drive will be mounted on the same volume. For that we need to modify the file /etc/fstab and know the UUID of our disk. The fstab file controls how drives are mounted to our system and the lines that we add to will tell the operating system how to load in and handle our drives. We must be careful with this config because if we input the wrong info, the system may fail to boot.
To retrieve our disk UUID, type
$ sudo blkid /dev/sda1We get something like the following:
$ /dev/sda1: UUID="25379391-12a6-46fa-8b9c-02ed1a85e56f" TYPE="ext4" PARTUUID="f271fce2-01"Now, let's create a directory for the drive to be mount:
$ sudo mkdir /media/sharedAnd assign ownership to the pi user:
$ sudo chown -R pi:pi /media/sharedNext, we need to modify the fstab file by executing:
$ sudo nano /etc/fstaband adding this to the file:
UUID="25379391-12a6-46fa-8b9c-02ed1a85e56f" /media/shared ext4 defaults,auto,users,rw,nofail,noatime 0 0where UUID is the one retrieved earlier by blkid, /media/shared is the mounting directory and ext4 is the disk file system. Save the file and restart the system:
$ sudo rebootOnce, restarted you should be able to see the drive properly mounted on our chosen directory:
$ df -h
8. Create shared drive
The last step to create our shared drive is to config samba to use the desired directory. To do so, edit the smb.conf file:
$ sudo nano /etc/samba/smb.conf
And add something along the lines of:
[SHARED]
   comment = external hard drive
   browseable = yes
   path = /media/shared
   writeable = Yes
   create mask = 0777
   directory mask = 0777
   browseable = Yes
   public = yes
   hide unreadable = yes
Where SHARED is the name we chose for the shared directory, path is the mounted volume path, public=yes indicates we don't need an authenticated user to use it and hide unreadable=yes will hide the lost+found directory created by the linux file system.
After that, you need to get an access to the sharing directory we’ve just created. For that, the user pi should be allowed to be the Samba user.
$ sudo smbpasswd -a pi
Input a password and we're ready to go. Finally, restart the service:
$ sudo /etc/init.d/samba-ad-dc restart9. Connect your computer to the file server
The last thing to do is connect your own computer to the file server and map a network drive so you have it accessible as any of your own computer drives. That is easy to achieve in my Mac by going to Finder/Go/Connect to Server and adding our Raspberry Pi address:
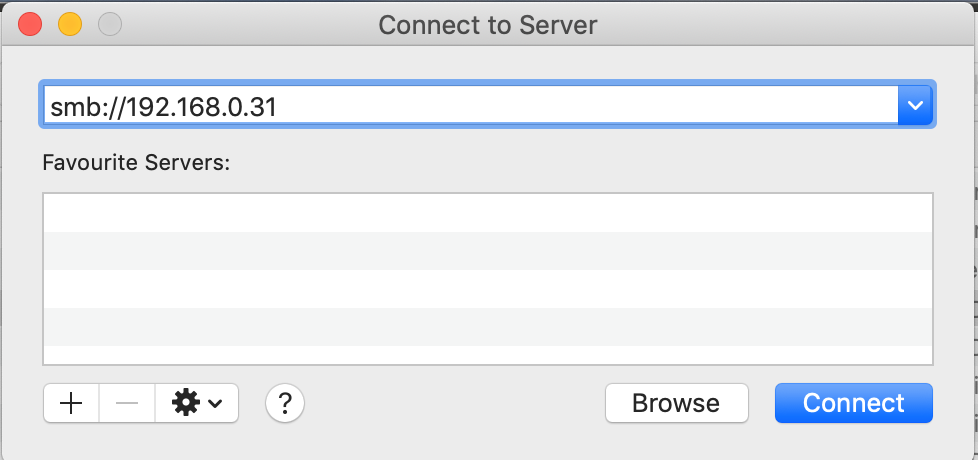
And it's all done! We now have a NAS server working on our own network and we can use to share files between different devices or, in my case, complement my computer storage without having to connect a USB drive.
Conclusions
It's been a cool project that hopefully anybody else can replicate by following this instructions. I now have given some use to that Raspberry Pi computer that I had unused for years and it's very useful y my daily live. I even added a couple of features: an LED power indicator and a power button to complete the project.